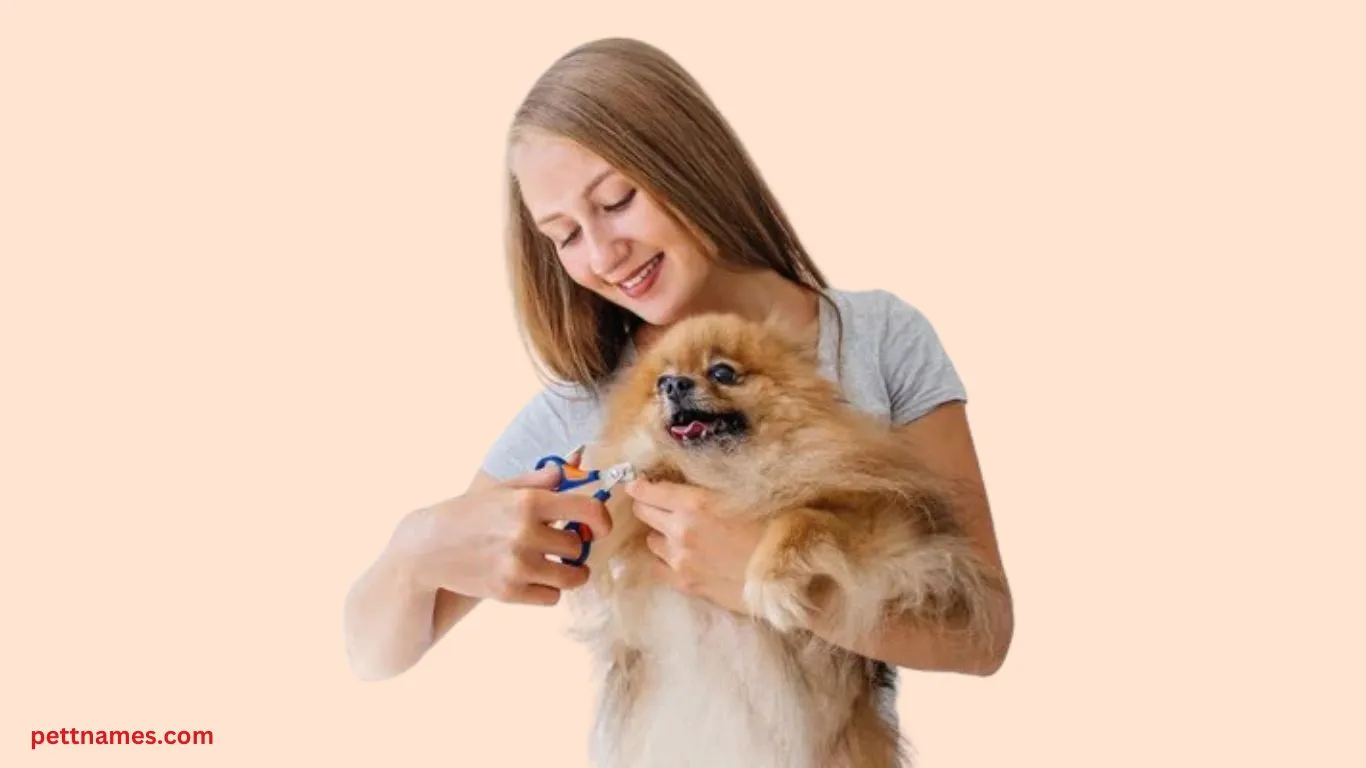
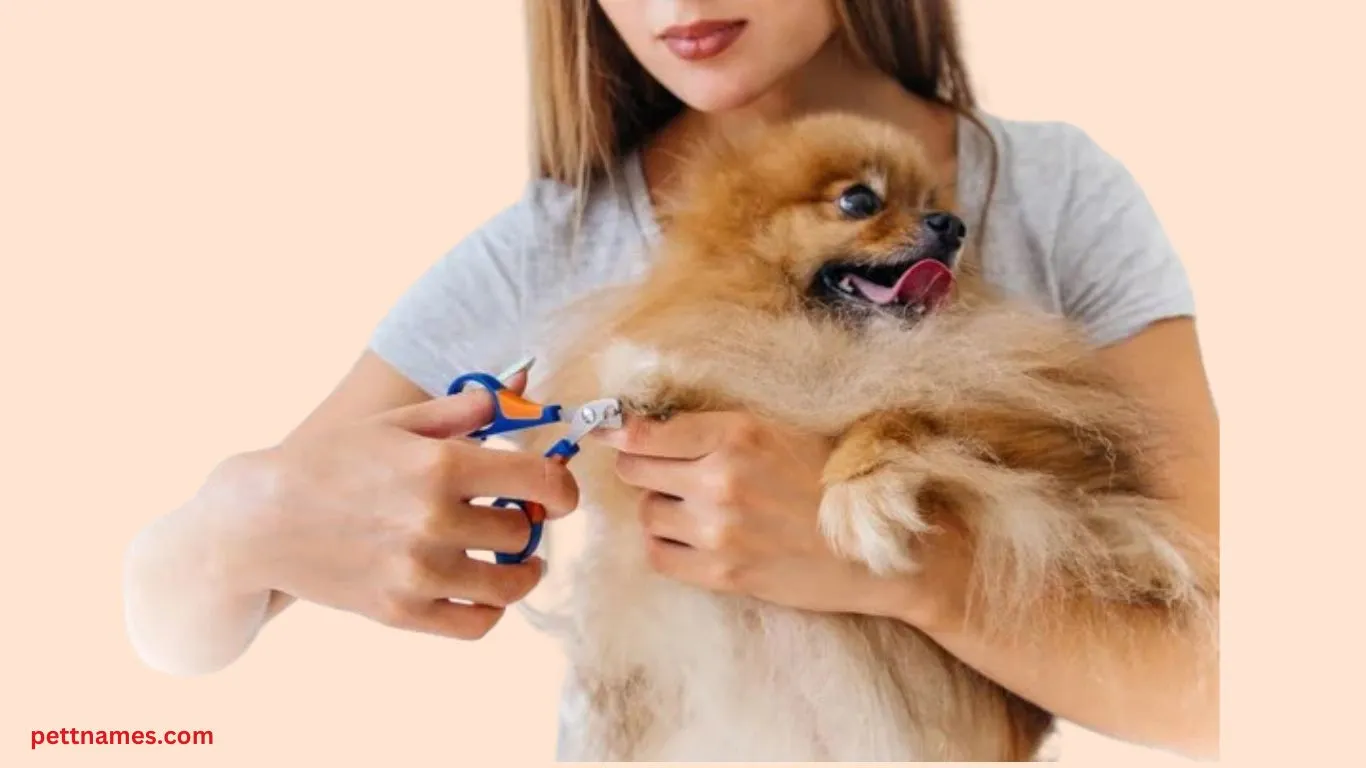
Every dog owner knows that trimming dog nails is a necessary part of pet care, but many dread the process. Overgrown nails aren’t just unsightly – they can cause serious health issues. When left untrimmed, they force your dog to walk unnaturally, leading to joint pain and even permanent posture damage.
Key benefits of regular nail trims:
Prevents painful splitting and cracking
Reduces risk of nail-related injuries
Maintains proper paw structure and gait
Eliminates that annoying “click-clack” on hard floors
But here’s the good news: trimming dog nails doesn’t have to be stressful for you or your pet. With the right approach, you can make nail care a quick, pain-free routine. This comprehensive guide will walk you through every step of the process, from choosing tools to handling accidents.
Understanding Dog Nail Anatomy: The Key to Safe Trimming

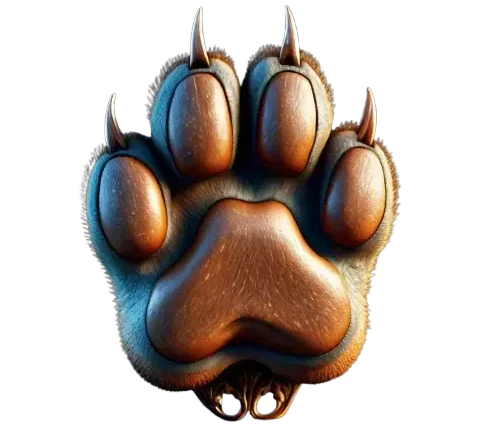
Before you start trimming dog nails, it’s crucial to understand what you’re working with. A dog’s nail consists of:
The outer shell (keratin): The hard part you trim
The quick: The sensitive inner part containing nerves and blood vessels
Why the quick matters:
Appears pink in light-colored nails
Difficult to see in dark nails
Will bleed and cause pain if cut
Grows longer when nails are neglected
Pro Tip: For dogs with dark nails, shine a flashlight underneath to help identify the quick’s location before trimming.
Essential Tools for Trimming Dog Nails

Having the right equipment makes all the difference when trimming dog nails. Here’s what you’ll need:
1. Nail Clippers
Scissor-style: Best for precision and control
Guillotine-style: Good for small to medium dogs
Rotary grinders: Ideal for nervous dogs (but require acclimation)
2. Safety Supplies
Styptic powder (to stop bleeding)
Treats for positive reinforcement
Non-slip mat for stability
Flashlight for dark nails
3. Comfort Items
Favorite blanket or bed
Calming treats (if needed)
An extra pair of hands for wiggly dogs
Budget Tip: While professional-grade tools work best, there are quality affordable options perfect for home use.
Step-by-Step Guide to Trimming Dog Nails Without Pain

Step 1: Prepare Your Dog
Choose a quiet, well-lit area
Get your dog comfortable with paw handling
Have treats ready for positive reinforcement
Step 2: Identify Where to Cut
For light nails: Look for the pink quick and cut about 2mm before it
For dark nails: Make small, conservative cuts and look for the chalky center
Visual Cue: The safe cutting area is where the nail starts to curve downward.
Step 3: Proper Cutting Technique
Hold the paw firmly but gently
Position clippers at a 45-degree angle
Make smooth, decisive cuts
Stop immediately if you see a black dot (beginning of the quick)
Step 4: Reward and Repeat
Praise and treat after each nail
Keep sessions short (5-10 minutes max)
End on a positive note
Common Mistake: Avoid cutting too much at once. It’s better to trim small amounts more frequently.
What to Do If You Cut the Quick

Even experienced groomers occasionally nick the quick. Here’s how to handle it:
Stay calm – Your dog will react to your energy
Apply styptic powder immediately
Apply gentle pressure for 1-2 minutes
Comfort your dog with praise and treats
Take a break before continuing
Alternative Remedies: If you don’t have styptic powder, cornstarch or flour can help clot minor bleeding.
You may also like:
Is a Kangal Dog Good With Kids? Family Safety Guide
Alternative Methods for Nervous Dogs
If your dog absolutely hates trimming dog nails, consider these alternatives:
1. Nail Grinding
Uses a rotary tool to file nails down
Less risk of quicking
Requires gradual introduction
2. Scratch Boards
DIY or purchased sandpaper boards
Lets dogs file their own nails
Great for front paws
3. Professional Help
Mobile groomers who come to you
Vet tech appointments
Cooperative care-trained professionals
Behavior Tip: Pair nail care with high-value treats your dog only gets during grooming sessions.
Maintenance Schedule: How Often to Trim Dog Nails
The ideal frequency for trimming dog nails depends on several factors:
| Dog Type | Recommended Frequency |
|---|---|
| Indoor dogs | Every 2-3 weeks |
| Active outdoor dogs | Monthly check |
| Senior dogs | Every 3-4 weeks |
| Fast-growing nails | Every 10-14 days |
Quick Test: If you hear nails clicking on hard floors, it’s time for a trim.
Frequently Asked Questions
Q: Can I use human nail clippers on my dog?
A: Not recommended. Dog nails have a different structure and require specialized tools.
Q: My dog fights me during nail trims. What can I do?
A: Try cooperative care training, higher-value treats, or breaking sessions into multiple very short periods.
Q: How can I tell if my dog’s nails are too long?
A: Nails should not touch the ground when your dog is standing normally.
Q: How often should I trim my dog’s nails?
A: Most dogs require nail trimming every 2-4 weeks, depending on their activity level and nail growth rate. The telltale clicking sound on hard surfaces indicates it’s time for a trim.
Q: What’s the most effective tool for trimming dog nails?
A: For optimal results, we recommend scissor-style clippers for most dogs, guillotine clippers for smaller breeds, and rotary grinders for anxious pets. Always select high-quality, sharp tools specifically designed for canine nails.
Q: How can I safely identify the quick in dark nails?
A: Use a two-step method: First, examine the nail’s underside with a penlight to locate the quick’s shadow. Second, make 45-degree angle micro-cuts (1mm increments) until observing a distinct grayish-pink oval at the nail’s center—this signals the quick’s approach.
Q: How should I handle a resistant dog during trims?
A: Implement a behavioral protocol: Establish positive paw handling through daily desensitization, introduce tools gradually without cutting, pair each successful step with high-value rewards, and consider pheromone sprays or anxiety wraps for extreme cases.
Q: Are human nail clippers ever appropriate for dogs?
A: Veterinary professionals universally prohibit human nail clippers for canine use. The anatomical differences in nail structure require specially engineered tools that prevent fractures and quick injuries.
Q: What’s the professional first aid protocol for quick injuries?
A: Immediately apply veterinary-grade styptic powder, maintain firm pressure for 90-120 seconds, disinfect with chlorhexidine solution, monitor for excessive licking, and resume trimming only after a 3-5 day healing period.
Q: Which breeds require special trimming considerations?
A: Giant breeds need heavy-duty clippers, dark-nailed breeds require transillumination techniques, double-coated breeds benefit from pre-trim fur trimming, and brachycephalic breeds often need restraint assistance.
Q: What long-term complications can result from poor nail care?
A: Chronic neglect may lead to permanent digit deformities, osteoarthritis from altered weight distribution, deep pyoderma from ingrown nails, compensatory spinal issues, and increased risk of nail bed carcinomas.
Q: When should I choose clippers versus grinders?
A: Clippers work best for initial length reduction and thick nails, while grinders excel at precision shaping, maintenance between trims, and creating smooth edges—especially for quick-sensitive dogs.
Q: What special techniques help senior dogs?
A: Use orthopedic padding during handling, low-noise electric grinders, limit sessions to 5 minutes, incorporate post-trim paw massages, schedule monthly veterinary assessments, and consider sedative protocols for arthritic patients.
Final Thoughts: Making Nail Trims Stress-Free
Trimming dog nails is an essential skill every pet owner should master. Remember:
Start slow and be patient
Use proper tools and techniques
Keep sessions positive and reward heavily
When in doubt, seek professional help
With regular practice, you and your dog can develop a nail care routine that works for both of you. For more dog care tips, check out our grooming series or download our free nail trimming checklist.
for more post please visit at pettnames.com
You may like:


